In my last post, I customised my Linux command line with 4 dotfiles. Putting the time into finding my way around the command line, and learning Linux commands, becomes more important on a Linux server because there’s no GUI.
I’ll continue tweaking in this post by modernising two classic commands I use daily, and adding two helper packages.
In part 3 I’ll tackle the big one: a super-powered prompt.
highlight
The highlight package prints the contents of a file to the command line, with automatic syntax coloring. Install highlight by running sudo apt install highlight. Then, add the below to the end of .bashrc to replace calls to cat with highlight:
# replace cat with highlight as per https://stackoverflow.com/a/27501509 (needs "highlight" installed)
if [ -f /usr/bin/highlight ]; then
  alias cat="highlight -O xterm256 --force"
fi
Make the change take effect immediately by running source ~/.bashrc.
Now, when I view a file with cat, I get colored syntax.
You can still run commands you’ve aliased on Linux by starting the command with a backslash “\” - for example, to run the original cat, type \cat.
eza
eza is a better directory listing. Following the directions at https://github.com/eza-community/eza/blob/main/INSTALL.md, I download from https://github.com/eza-community/eza/releases (ensuring the right architecture, in my case aarch64), unzip the download, copy the unzipped eza executable to my home directory, then run from my home directory:
To copy files, I use an SCP program, either WinSCP https://winscp.net/eng/download.php for Windows or MacSCP https://github.com/macnev2013/macSCP on Mac.
# make the downloaded file executable
chmod +x eza
# create the directory ~/.local/bin
mkdir -p ~/.local/bin
# move eza executable to ~/.local/bin
mv eza ~/.local/bin/eza
Lastly, I add to my .bashrc, below everything else:
# replace ls with eza, expects eza installed at below location
# change the parameters to suit - the set below shows hidden files, in long format,
# with color for different file types and icons too
if [ -f ~/.local/bin/eza ]; then
  alias ls='eza -lhag --color=always --group-directories-first --icons'
fi
As a result, when I list the contents of a directory with ls, I see the following output from eza:
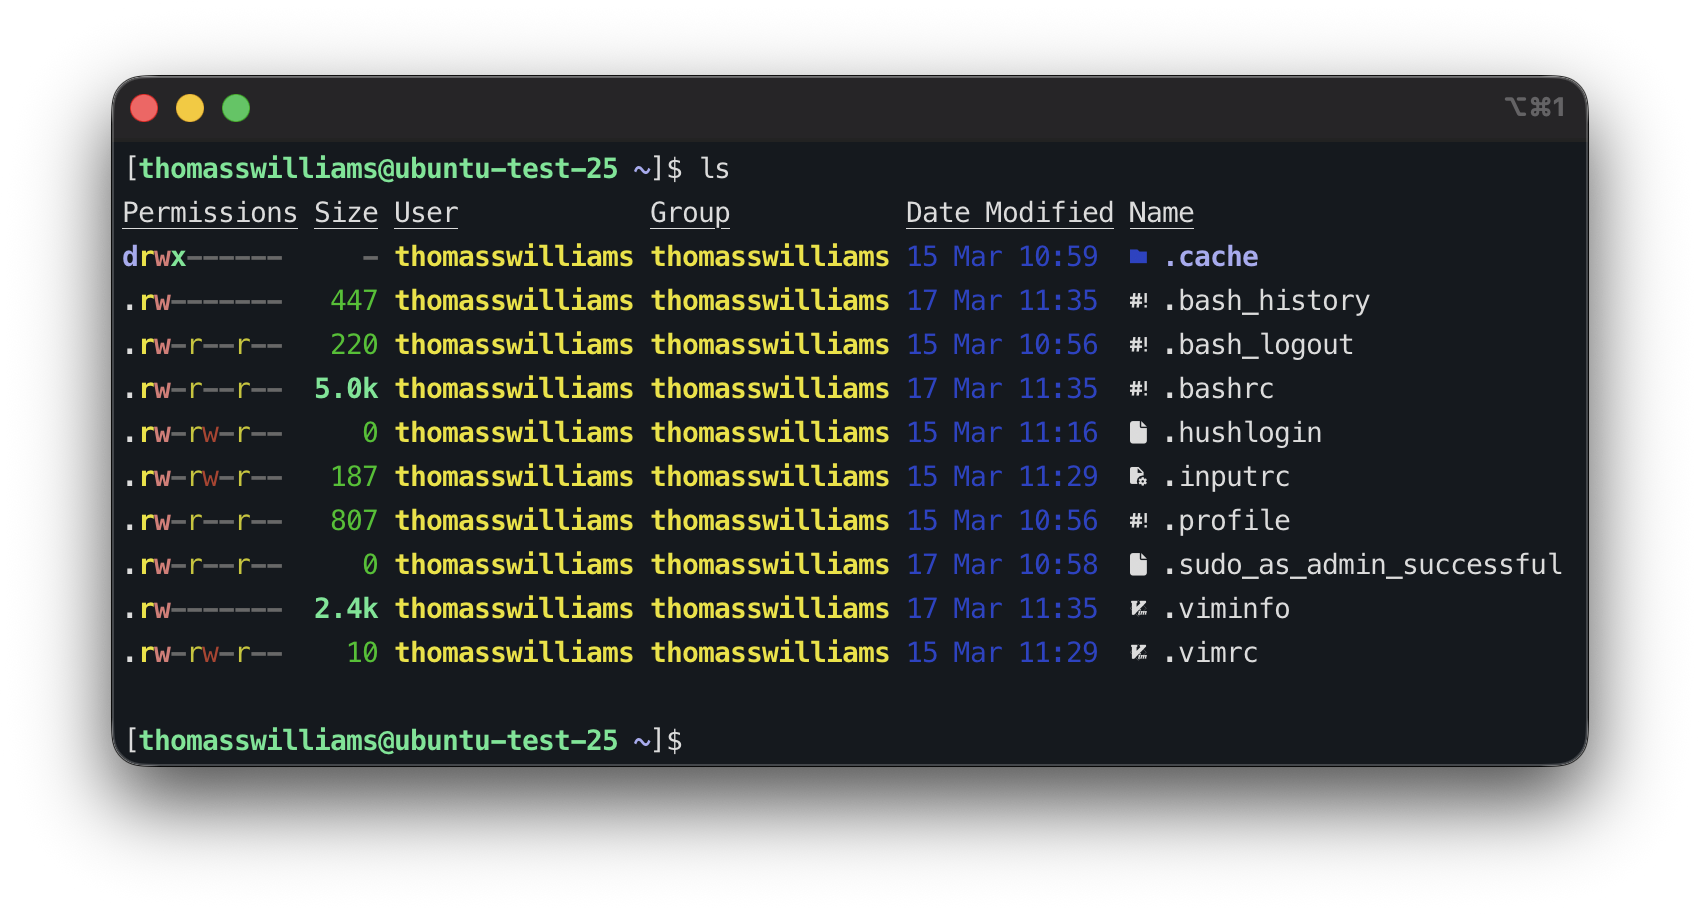
The alias parts above are entirely optional, I use them as it saves me remembering another command.
Something else I like to do - as I come from Windows - is make directory navigation with cd case-insensitive. I do this by adding the line below to the bottom of .inputrc in my home directory, adapted from https://askubuntu.com/a/87066:
set completion-ignore-case On
fastfetch
fastfetch (https://github.com/fastfetch-cli/fastfetch) is a utility that does one thing - shows system information. I install it with sudo apt install fastfetch, then run it with fastfetch. On my Linux VM, I get the following:
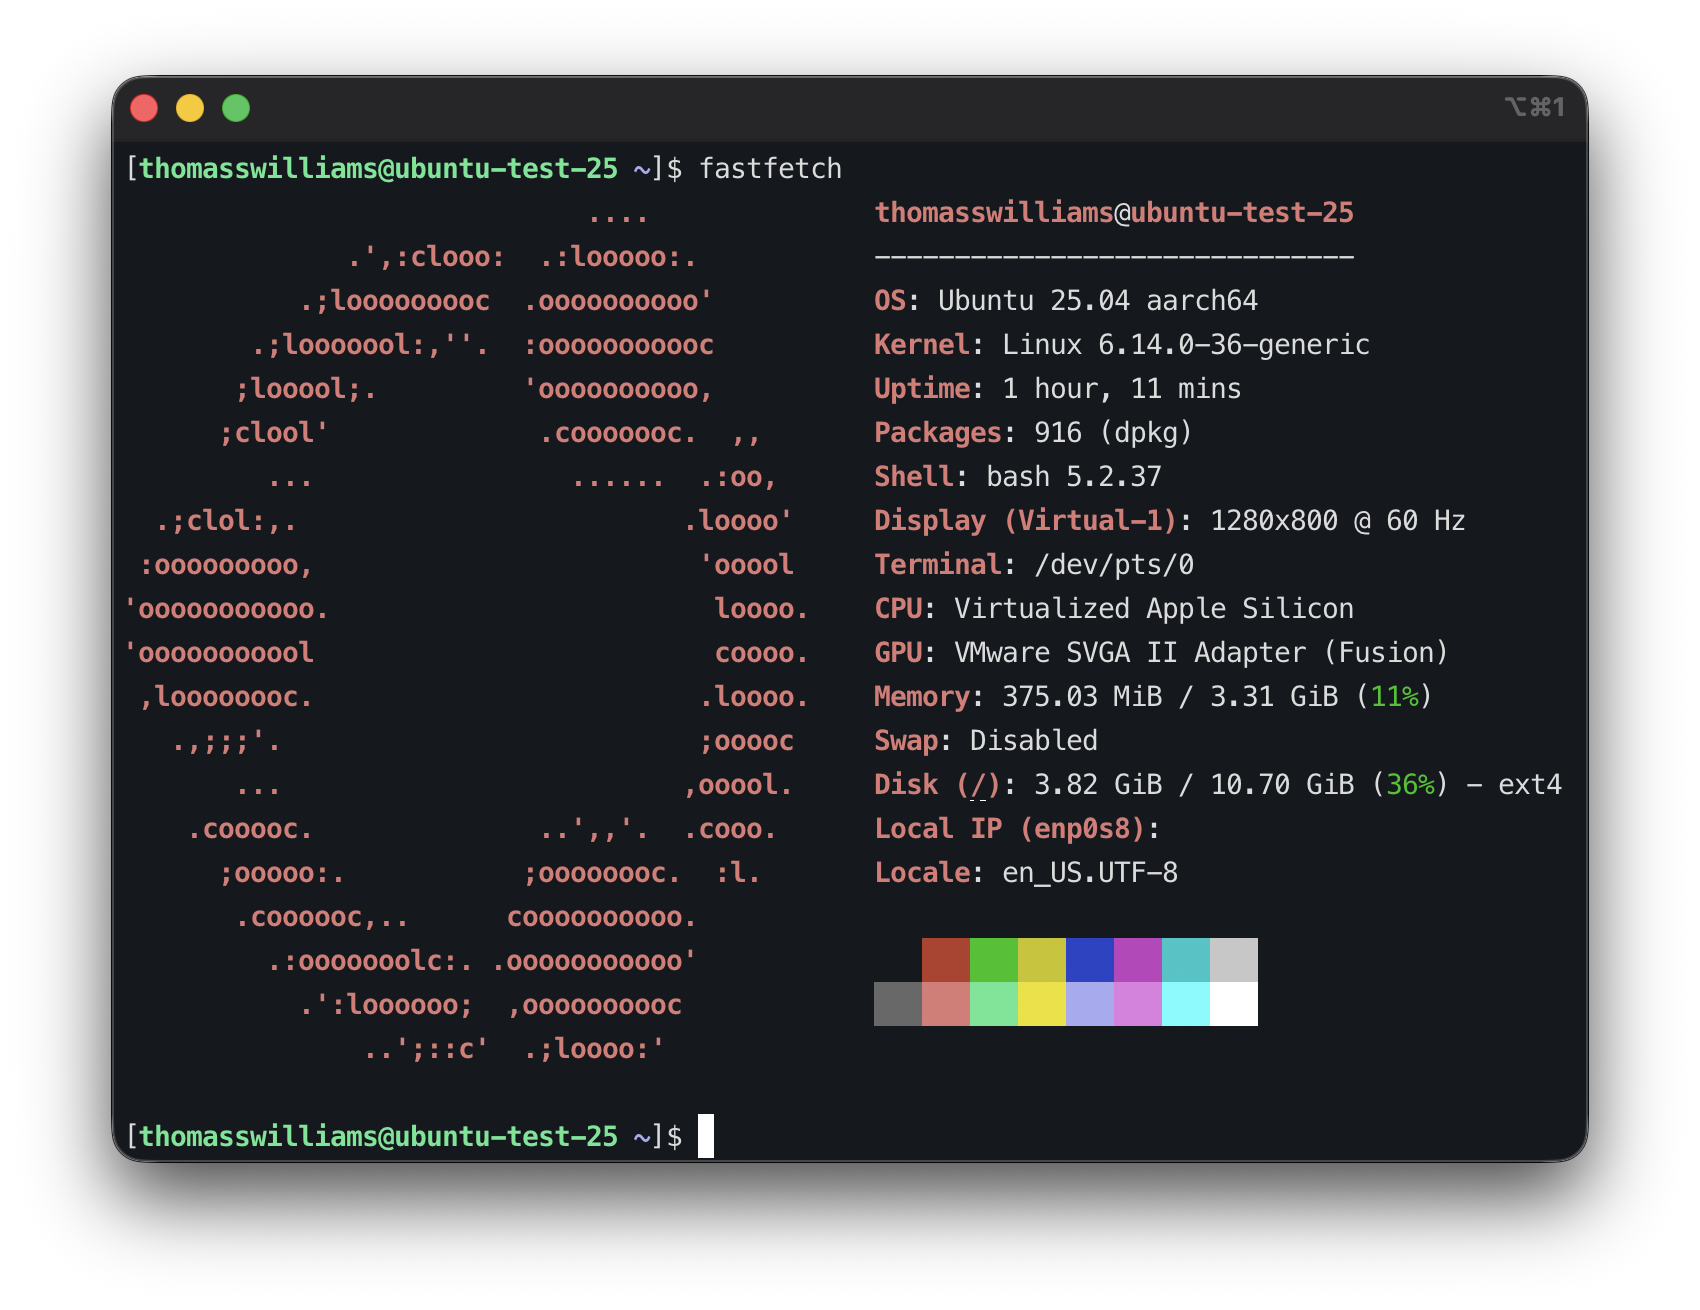
I’ve found it helpful to have all this information in one place.
ncdu
ncdu is slightly different than the other packages in this post, as it’s an interactive console for file/directory sizes, similar to Treesize or WinDirStat on Windows.
Either download the right version from https://dev.yorhel.nl/ncdu, or install with sudo apt install ncdu. Run, showing percents, in KB/MB/GB (rather than KiB/MiB/GiB), and in dark mode:
ncdu --show-itemcount --show-percent --si --color=dark /
I use ncdu to identify space used. With ncdu running, browse the file system using the arrow keys and enter to move between directories; show help with “?”, and finally quit with “q”.
That’s it for part 2 - part 3, next, is where I power up my prompt.